
**Made with 💝 for

.**
Quickemu is available in the repositories of the following distros
(packaging status by [Repology.org](https://repology.org/)):
|
[](https://repology.org/project/quickemu/versions)
|
[](https://repology.org/project/quickgui/versions)
|
We have a Discord for this project:
[](https://discord.gg/sNmz3uw)
## Introduction
**Quickemu** is a wrapper for the excellent
[QEMU](https://www.qemu.org/) that attempts to automatically *"do the
right thing"*, rather than expose exhaustive configuration options. You
decide what operating system you want to run, and Quickemu will figure
out the best way to do it for you.
The original objective of the project was to enable [quick testing of
Linux distributions](#creating-linux-guests-) where the virtual machine
configurations can be stored anywhere (such as external USB storage or
your home directory) and no elevated permissions are required to run the
virtual machines.
**Quickemu now also includes comprehensive support for
[macOS](#creating-macos-guests-) and
[Windows](#creating-windows-guests-)**.
## Features
- **macOS** Sonoma, Ventura, Monterey, Big Sur, Catalina, Mojave &
High Sierra
- **Windows** 10 and 11 including TPM 2.0
- [Ubuntu](https://ubuntu.com/desktop) and all the **[official Ubuntu
flavours](https://ubuntu.com/download/flavours)**
- **Over 360 operating system editions are supported!**
- Full SPICE support including host/guest clipboard sharing
- VirtIO-webdavd file sharing for Linux and Windows guests
- VirtIO-9p file sharing for Linux and macOS guests
- [QEMU Guest Agent
support](https://wiki.qemu.org/Features/GuestAgent); provides access
to a system-level agent via standard QMP commands
- Samba file sharing for Linux, macOS and Windows guests (*if `smbd`
is installed on the host*)
- VirGL acceleration
- USB device pass-through
- Smartcard pass-through
- Automatic SSH port forwarding to guests
- Network port forwarding
- Full duplex audio
- Braille support
- EFI (with or without SecureBoot) and Legacy BIOS boot
- Graphical user interfaces available
## Installation
### Arch Linux hosts
Quickemu is available from the AUR (Arch user repository), and can be
installed via any AUR helper. Assuming your AUR helper is yay, Run the
following command:
``` shell
yay -Sy quickemu
```
### Debian and derivatives
A [.deb package is available for Debian and derivatives in this
project's GitHub releases
page](https://github.com/quickemu-project/quickemu/releases). Download
the .deb and install it with `apt-get`.
``` shell
sudo apt-get install ./quickemu_x.y.z-1_all.deb
```
### Ubuntu hosts
Quickemu is available from a PPA for Ubuntu users. The Quickemu PPA also
includes a back port of QEMU 6.0.0 for 20.04 (Focal) and 21.04
(Hirsute). To install Quickemu and all the dependencies run the
following in a terminal:
``` shell
sudo apt-add-repository ppa:flexiondotorg/quickemu
sudo apt update
sudo apt install quickemu
```
### NixOS hosts
To quickly try quickemu:
``` shell
nix-shell -p quickemu
```
To install via Nix profile:
``` shell
nix-env -iA pkgs.quickemu
```
To install via NixOS config:
``` nix
# /etc/nixos/configuration.nix
{pkgs, ...}: {
environment.systemPackages = with pkgs;
quickemu
};
}
```
To install via Flakes:
``` shell
# TODO (flake users, please add an example!)
```
### Other Linux hosts (installing from source)
``` shell
git clone --filter=blob:none https://github.com/quickemu-project/quickemu
cd quickemu
```
When installing from source, you will need to install the following
requirements manually:
- [QEMU](https://www.qemu.org/) (*6.0.0 or newer*) **with GTK, SDL,
SPICE & VirtFS support**
- [bash](https://www.gnu.org/software/bash/) (*4.0 or newer*)
- [Coreutils](https://www.gnu.org/software/coreutils/)
- [EDK II](https://github.com/tianocore/edk2)
- [grep](https://www.gnu.org/software/grep/)
- [jq](https://stedolan.github.io/jq/)
- [LSB](https://wiki.linuxfoundation.org/lsb/start)
- [procps](https://gitlab.com/procps-ng/procps)
- [python3](https://www.python.org/)
- [chunkcheck](https://gist.github.com/MCJack123/943eaca762730ca4b7ae460b731b68e7)
- [mkisofs](http://cdrtools.sourceforge.net/private/cdrecord.html)
- [usbutils](https://github.com/gregkh/usbutils)
- [util-linux](https://github.com/karelzak/util-linux)
- [sed](https://www.gnu.org/software/sed/)
- [socat](http://www.dest-unreach.org/socat/)
- [spicy](https://gitlab.freedesktop.org/spice/spice-gtk)
- [swtpm](https://github.com/stefanberger/swtpm)
- [Wget](https://www.gnu.org/software/wget/)
- [xdg-user-dirs](https://www.freedesktop.org/wiki/Software/xdg-user-dirs/)
- [xrandr](https://gitlab.freedesktop.org/xorg/app/xrandr)
- [zsync](http://zsync.moria.org.uk/)
- [unzip](http://www.info-zip.org/UnZip.html)
For Ubuntu, Arch and NixOS hosts, the
[ppa](https://launchpad.net/~flexiondotorg/+archive/ubuntu/quickemu),
[AUR](https://aur.archlinux.org/packages/quickemu) or
[nix](https://github.com/NixOS/nixpkgs/tree/master/pkgs/development/quickemu)
packaging will take care of the dependencies. For other host
distributions or operating systems it will be necessary to install the
above requirements or their equivalents.
These examples may save a little typing:
#### Install requirements on Debian hosts
This also applies to derivatives:
``` shell
sudo apt install qemu bash coreutils ovmf grep jq lsb-base procps python3 genisoimage usbutils util-linux sed socat spice-client-gtk libtss2-tcti-swtpm0 wget xdg-user-dirs zsync unzip
```
#### Install requirements on Fedora hosts
``` shell
sudo dnf install qemu bash coreutils edk2-tools grep jq lsb procps python3 genisoimage usbutils util-linux sed socat spice-gtk-tools swtpm wget xdg-user-dirs xrandr unzip
```
#### Install requirements on macOS hosts
This is a **work in progress** (see [issue
248](https://github.com/quickemu-project/quickemu/issues/248) for other
steps and changes that may enable running on MacOS)
``` shell
brew install qemu bash coreutils grep jq python@3.10 cdrtools gnu-sed spice-gtk wget zsync
```
## GUI (quickgui)
While `quickemu` and `quickget` are designed for the terminal, a
graphical user interface is also available:
- **[Quickgui](https://github.com/quickgui/quickgui)** by [Mark
Johnson](https://github.com/marxjohnson) and [Yannick
Mauray](https://github.com/ymauray).
To install Quickgui on Ubuntu:
``` shell
sudo add-apt-repository ppa:yannick-mauray/quickgui
sudo apt update
sudo apt install quickgui
```
Many thanks to [Luke Wesley-Holley](https://github.com/Lukewh) and
[Philipp Kiemle](https://github.com/daPhipz) for creating the
**[Quickemu icons](https://github.com/Lukewh/quickemu-icons)** 🎨
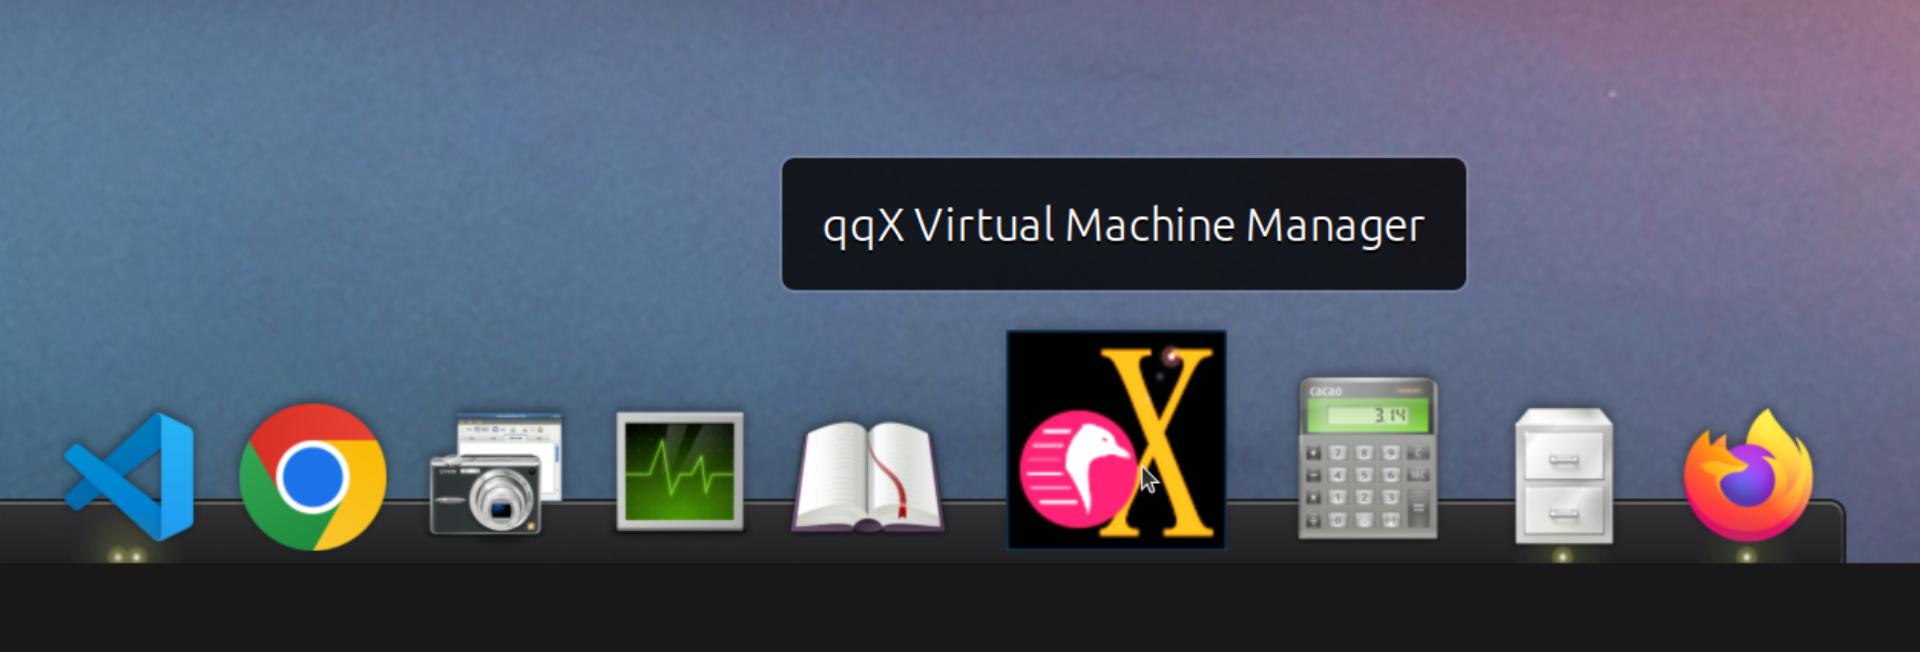
## TUI (qqx)
From Nov 2023, there is also a multi option desktop integrated text
interface, the **quickemu quickget X terminal project**, a.k.a. **qqX**,
with lots of unique tools and utilities to help you make light work of
installations, snapshots and disk management
- **[qqX](https://github.com/TuxVinyards/qqX)** is independently
curated by [Alex Genovese](https://github.com/TuxVinyards) (see the
github pages)
## Creating Linux guests 🐧
### Ubuntu
`quickget` will automatically download an Ubuntu release and create the
virtual machine configuration.
``` shell
quickget ubuntu 22.04
quickemu --vm ubuntu-22.04.conf
```
- Complete the installation as normal.
- Post-install:
- Install the SPICE agent (`spice-vdagent`) in the guest to enable
copy/paste and USB redirection
- `sudo apt install spice-vdagent`
- Install the SPICE WebDAV agent (`spice-webdavd`) in the guest to
enable file sharing.
- `sudo apt install spice-webdavd`
### Ubuntu daily-live images
`quickget` can also download/refresh daily-live images via `zsync` for
Ubuntu developers and testers.
``` shell
quickget ubuntu daily-live
quickemu --vm ubuntu-daily-live.conf
```
You can run `quickget ubuntu daily-live` to refresh your daily
development image as often as you like, it will even automatically
switch to a new series.
### Ubuntu Flavours
All the official Ubuntu flavours are supported, just replace `ubuntu`
with your preferred flavour.
- `edubuntu` (Edubuntu)
- `kubuntu` (Kubuntu)
- `lubuntu` (Lubuntu)
- `ubuntu-budgie` (Ubuntu Budgie)
- `ubuntucinnamon` (Ubuntu Cinnamon)
- `ubuntukylin` (Ubuntu Kylin)
- `ubuntu-mate` (Ubuntu MATE)
- `ubuntu-server` (Ubuntu Server)
- `ubuntustudio` (Ubuntu Studio)
- `ubuntu` (Ubuntu)
- `ubuntu-unity` (Ubuntu Unity)
- `xubuntu` (Xubuntu)
You can also use `quickget` with options to:
``` shell
# show an OS ISO download URL for {os} {release} [edition]
quickget --show-iso-url fedora 38 Silverblue
# test if an OS ISO is available for {os} {release} [edition]
quickget --test-iso-url nixos 23.05 plasma5
# open an OS distribution homepage in a browser
quickget --open-distro-homepage ubuntu-mate
# Only download image file into current directory, without creating VM
quickget --download-iso elementary 7.1
```
The `--show-iso-url`, `--test-iso-url`, and `--download-iso` options are
fully functional for all operating systems, including Windows and macOS.
### Other Operating Systems
`quickget` also supports:
- `alma` (Alma Linux)
- `alpine` (Alpine Linux)
- `android` (Android x86)
- `antix` (Antix)
- `archcraft` (Archcraft)
- `archlinux` (Arch Linux)
- `arcolinux` (Arco Linux)
- `artixlinux` (Artix Linux)
- `athenaos` (Athenaos)
- `batocera` (Batocera)
- `bazzite` (Bazzite)
- `biglinux` (BigLinux)
- `blendos` (BlendOS)
- `bodhi` (Bodhi)
- `bunsenlabs` (Bunsenlabs)
- `cachyos` (CachyOS)
- `centos-stream` (CentOS Stream)
- `chimeralinux` (Chimera Linux)
- `crunchbang++` (Crunchbang++)
- `debian` (Debian)
- `deepin` (Deepin)
- `devuan` (Devuan)
- `dragonflybsd` (DragonFlyBSD)
- `easyos` (EasyOS)
- `elementary` (elementary OS)
- `endeavouros` (EndeavourOS)
- `endless` (Endless OS)
- `fedora` (Fedora)
- `freebsd` (FreeBSD)
- `freedos` (FreeDOS)
- `garuda` (Garuda Linux)
- `gentoo` (Gentoo)
- `ghostbsd` (GhostBSD)
- `gnomeos` (GNOME OS)
- `guix` (Guix)
- `haiku` (Haiku)
- `kali` (Kali)
- `kdeneon` (KDE Neon)
- `kolibrios` (KolibriOS)
- `linuxlite` (Linux Lite)
- `linuxmint` (Linux Mint)
- `lmde` (Linux Mint Debian Edition)
- `mageia` (Mageia)
- `manjaro` (Manjaro)
- `mxlinux` (MX Linux)
- `netboot` (netboot.xyz)
- `netbsd` (NetBSD)
- `nitrux` (Nitrux)
- `nixos` (NixOS)
- `openbsd` (OpenBSD)
- `openindiana` (OpenIndiana)
- `opensuse` (openSUSE)
- `oraclelinux` (Oracle Linux)
- `parrotsec` (Parrot Security)
- `peppermint` (PeppermintOS)
- `popos` (Pop!\_OS)
- `porteus` (Porteus)
- `primtux` (Primtux)
- `pureos` (PureOS)
- `reactos` (ReactOS)
- `rebornos` (RebornOS)
- `rockylinux` (Rocky Linux)
- `siduction` (Siduction)
- `slackware` (Slackware)
- `slax` (Slax)
- `slint` (Slint)
- `slitaz` (SliTaz GNU/Linux)
- `solus` (Solus)
- `spirallinux` (Spirallinux)
- `tails` (Tails)
- `tinycore` (Tiny Core Linux)
- `trisquel` (Trisquel)
- `truenas-core` (TrueNAS Core)
- `truenas-scale` (TrueNAS Scale)
- `tuxedo-os` (Tuxedo OS)
- `vanillaos` (Vanilla OS)
- `void` (Void Linux)
- `vxlinux` (VX Linux)
- `xerolinux` (XeroLinux)
- `zorin` (Zorin OS)
### Custom Linux guests
Or you can download a Linux image and manually create a VM
configuration.
- Download a .iso image of a Linux distribution
- Create a VM configuration file; for example `debian-bullseye.conf`
``` shell
guest_os="linux"
disk_img="debian-bullseye/disk.qcow2"
iso="debian-bullseye/firmware-11.0.0-amd64-DVD-1.iso"
```
- Use `quickemu` to start the virtual machine:
``` shell
quickemu --vm debian-bullseye.conf
```
- Complete the installation as normal.
- Post-install:
- Install the SPICE agent (`spice-vdagent`) in the guest to enable
copy/paste and USB redirection.
- Install the SPICE WebDAV agent (`spice-webdavd`) in the guest to
enable file sharing.
## Creating macOS Guests 🍏
`quickget` automatically downloads a macOS recovery image and creates a
virtual machine configuration.
``` shell
quickget macos catalina
quickemu --vm macos-catalina.conf
```
macOS `high-sierra`, `mojave`, `catalina`, `big-sur`, `monterey`,
`ventura` and `sonoma` are supported.
- Use cursor keys and enter key to select the **macOS Base System**
- From **macOS Utilities**
- Click **Disk Utility** and **Continue**
- Select `QEMU HARDDISK Media` (\~103.08GB) from the list (on
Big Sur and above use `Apple Inc. VirtIO Block Device`) and
click **Erase**.
- Enter a `Name:` for the disk
- If you are installing macOS Mojave or later (Catalina, Big
Sur, Monterey, Ventura and Sonoma), choose any of the APFS
options as the filesystem. MacOS Extended may not work.
- Click **Erase**.
- Click **Done**.
- Close Disk Utility
- From **macOS Utilities**
- Click **Reinstall macOS** and **Continue**
- Complete the installation as you normally would.
- On the first reboot use cursor keys and enter key to select
**macOS Installer**
- On the subsequent reboots use cursor keys and enter key to
select the disk you named
- Once you have finished installing macOS you will be presented with
an the out-of-the-box first-start wizard to configure various
options and set up your username and password
- OPTIONAL: After you have concluded the out-of-the-box wizard, you
may want to enable the TRIM feature that the computer industry
created for SSD disks. This feature in our macOS installation will
allow QuickEmu to compact (shrink) your macOS disk image whenever
you delete files inside the Virtual Machine. Without this step your
macOS disk image will only ever get larger and will not shrink even
when you delete lots of data inside macOS.
- To enable TRIM, open the Terminal application and type the
following command followed by pressing