Quickemu
Simple shell script to "manage" Qemu virtual machines.
Made with 💝 for 
## Introduction
Quickemu is a very simple script to "manage" Qemu virtual machines. Each
virtual machine configuration is broadly the same requiring minimal setup. The
main objective of the project is to enable quick testing of desktop Linux
distributions where the virtual machines can be stored anywhere, such as
external USB storage.
Quickemu is opinionated and will attempt to *"do the right thing"* rather than
expose rich configuration options. Quickemu is a wrapper for [QEMU](https://www.qemu.org/). See the video where I explain some of my motivations for creating this script.
We have a Discord for this project: [](https://discord.gg/sNmz3uw)
[](https://www.youtube.com/watch?v=AOTYWEgw0hI)
## Requirements
Essential requirements:
* [QEMU](https://www.qemu.org/) 6.0.0 or newer
* [Coreutils](https://www.gnu.org/software/coreutils/)
* [procps](https://gitlab.com/procps-ng/procps)
* [usbutils](https://github.com/gregkh/usbutils)
* [Wget](https://www.gnu.org/software/wget/)
* [xrandr](https://gitlab.freedesktop.org/xorg/app/xrandr)
Optional requirements:
* `rot13` to *"decrypt"* the macOS OSK key; found in the `bsdgames` package in Debian/Ubuntu
* `smbd` to export user home directory from the host to the guest VM; found in the `samba` package in Debian/Ubuntu
## Install Quickemu
### Ubuntu
Quickemu is available from a PPA for Ubuntu users. The Quickemu PPA also
includes a back port of QEMU 6.0.0 for 20.04 (Focal) and 21.04 (Hirsute).
```bash
sudo apt-add-repository ppa:flexiondotorg/quickemu
sudo apt install quickemu
```
## Usage
### Linux
* Download a .iso image of a Linux distribution
* Create a VM configuration file; for example `ubuntu.conf`
* The **default** `guest_os` is `linux`, so this is optional for Linux VM configs.
* The `boot` option enables Legacy BIOS (`legacy`) or EFI (`efi`) booting. `legacy` is the default.
```
boot="legacy"
guest_os="linux"
iso="/media/$USER/Quickemu/ubuntu/focal-desktop-amd64.iso"
disk_img="/media/$USER/Quickemu/ubuntu/focal-desktop-amd64.qcow2"
disk=128G
port_forwards=("8123:8123" "8888:80")
usb_devices=("046d:082d" "046d:085e")
```
* Use `quickemu` to start the virtual machine:
```
./quickemu --vm ubuntu-focal-desktop.conf
```
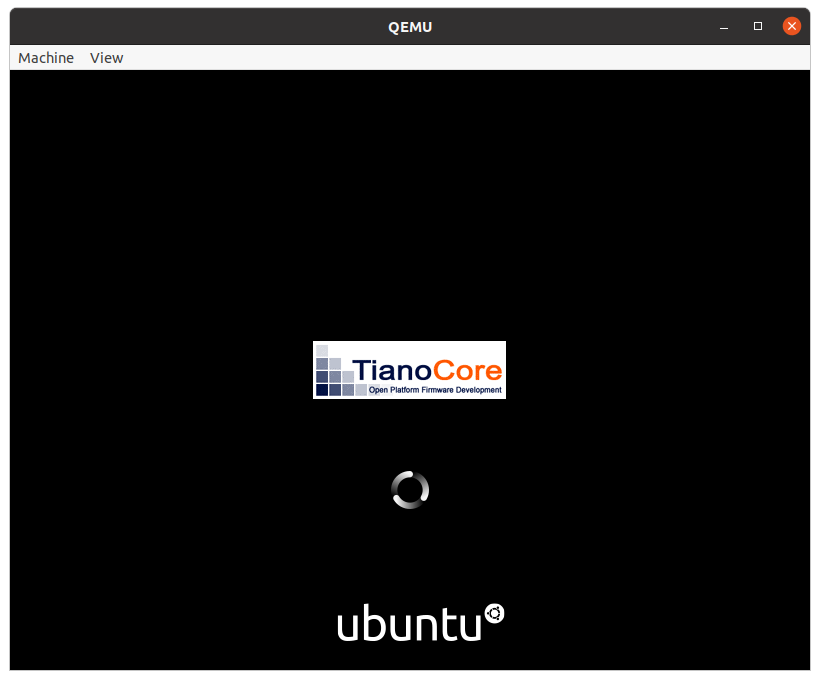
Which will output something like this:
```
Starting /media/martin/Quickemu/ubuntu-focal-desktop.conf
- QEMU: /usr/bin/qemu-system-x86_64 v6.0.0
- Guest: Linux optimised
- BIOS: Legacy BIOS
- Disk: /media/martin/Quickemu/ubuntu/focal-desktop-amd64.qcow2 (64G)
- ISO: /media/martin/Quickemu/ubuntu/focal-desktop-amd64.iso
- CPU: 4 Core(s)
- RAM: 4G
- Screen: 1664x936
- Video: virtio-vga
- GL: ON
- Virgil3D: ON
- Display: SDL
- smbd: /home/martin will be exported to the guest via smb://10.0.2.4/qemu
- ssh: 22221/tcp is connected. Login via 'ssh user@localhost -p 22221'
- PORTS: Port forwards requested:
- 8123 => 8123
- 8888 => 80
- USB: Device pass-through requested:
- Logitech, Inc. HD Pro Webcam C920
- Logitech, Inc. Logitech BRIO
Requested USB device(s) are accessible.
```
* Complete the installation as normal.
* A Desktop shortcut can be created (in ~/.local/share/applications):
```
./quickemu --shortcut --vm ubuntu-focal-desktop.conf
```
### Windows 10
You can use `quickemu` to run a Windows 10 virtual machine.
* [Download Windows 10](https://www.microsoft.com/en-gb/software-download/windows10ISO)
* [Download VirtIO drivers for Windows](https://docs.fedoraproject.org/en-US/quick-docs/creating-windows-virtual-machines-using-virtio-drivers/index.html#virtio-win-direct-downloads)
* Create a VM configuration file; for example `windows10.conf`
* The `boot` option enables Legacy BIOS (`legacy`) or EFI (`efi`) booting. `legacy` is the default.
* The `guest_os="windows"` line instructs `quickemu` to use optimise for Windows.
```
boot="legacy"
guest_os="windows"
iso="/media/$USER/Quickemu/windows10/Win10_1909_English_x64.iso"
driver_iso="/media/$USER/Quickemu/windows10/virtio-win-0.1.173.iso"
disk_img="/media/$USER/Quickemu/windows10/windows10.qcow2"
disk=128G
port_forwards=("8123:8123" "8888:80")
usb_devices=("046d:082d" "046d:085e")
```
* Use `quickemu` to start the virtual machine:
```
./quickemu --vm windows10.conf
```
Which will output something like this:
```
Starting /media/martin/Quickemu/windows10.conf
- QEMU: /usr/bin/qemu-system-x86_64 v6.0.0
- Guest: Windows optimised
- BIOS: Legacy BIOS
- Disk: /media/martin/Quickemu/windows10/windows10.qcow2 (64G)
Just created, booting from /media/martin/Quickemu/windows10/Win10_1909_English_x64.iso
- Boot: /media/martin/Quickemu/windows10/Win10_1909_English_x64.iso
- Drivers: /media/martin/Quickemu/windows10/virtio-win-0.1.173.iso
- CPU: 4 Core(s)
- RAM: 4G
- Screen: 1664x936
- Video: qxl-vga
- GL: ON
- Virgil3D: OFF
- Display: SDL
- smbd: /home/martin will be exported to the guest via smb://10.0.2.4/qemu
- ssh: 22221/tcp is connected. Login via 'ssh user@localhost -p 22221'
- PORTS: Port forwards requested:
- 8123 => 8123
- 8888 => 80
- USB: Device pass-through requested:
- Logitech, Inc. HD Pro Webcam C920
- Logitech, Inc. Logitech BRIO
Requested USB device(s) are accessible.
```
* During the Windows 10 install you will be asked *"Where do you want to install Windows?"*
* Click **Load driver** and **OK** the the dialogue box that pops up.
* Select `VirtIO SCSI controller (E:\amd64\w10\viostor.inf)` from the list and click **Next**.
* The disk will now be available for partitioning and formatting.
* Complete the installation as you normally would.
* Post-install you should run the VirtIO installer from the CD-ROM: drive.
### macOS
There are some considerations when running macOS via Quickemu.
* `quickemu` will automatically download the required [Clover EFI bootloader](https://sourceforge.net/projects/cloverefiboot/) and OVMF firmware from [the macOS-Simple-KVM project](https://github.com/foxlet/macOS-Simple-KVM).
* **macOS 10.14.3 or newer is supported**:
* [VirtIO block devices QEMU standard VGA are supported](https://www.kraxel.org/blog/2019/06/macos-qemu-guest/) since macOS 10.14.3 (Mohave).
* [VirtIO `usb-tablet` devices are supported](http://philjordan.eu/osx-virt/) since macOS 10.11 (El Capitan).
* [vmxnet3 network devices are supported](https://github.com/foxlet/macOS-Simple-KVM/blob/master/docs/guide-networking.md) since macOS 10.11 (El Capitan).
* Running macOS on QEMU required the guest CPU is set to `Penryn`.
* This is a very old architecture, [so to unlock higher CPU performance; AVX, AES-NI, SSE et al are enabled](https://www.nicksherlock.com/2017/10/passthrough-of-advanced-cpu-features-for-macos-high-sierra-guests/).
* UHCI USB (USB 2.0) is the fastest supported.
* USB pass-through has not been tested.
You can use `quickemu` to run a macOS virtual machine.
* Download macOS using `fetch-macos.py`
```
wget https://raw.githubusercontent.com/foxlet/macOS-Simple-KVM/master/tools/FetchMacOS/fetch-macos.py -O fetch-macos.py
python3 -m venv venv
. venv/bin/activate
python3 -m pip install requests click
python3 ./fetch-macos.py
qemu-img convert BaseSystem/BaseSystem.dmg -O raw BaseSystem.img
```
* Create a VM configuration file; for example `macos.conf`
* The `guest_os="macos"` line instructs `quickemu` to use optimise for macOS.
* The `img=` sets the boot disk that you downloaded with `fetch-macos.py`
```
guest_os="macos"
img="/media/$USER/Quickemu/macos/BaseSystem.img"
disk_img="/media/$USER/Quickemu/macos/macos.qcow2"
disk=128G
port_forwards=("8123:8123" "8888:80")
usb_devices=("046d:082d" "046d:085e")
```
* Use `quickemu` to start the virtual machine:
```
./quickemu --vm macos.conf
```
Which will output something like this:
```
Starting macos.conf
- QEMU: /usr/bin/qemu-system-x86_64 v6.0.0
- BOOT: EFI
- Guest: Macos optimised
- Disk: /media/martin/Quickemu/macos/macos.qcow2 (64G)
Just created, booting from /media/martin/Quickemu/macos/BaseSystem.img
- CPU: 4 Core(s)
- RAM: 4G
- Screen: 1664x936
- Video: VGA
- GL: ON
- Virgil3D: OFF
- Display: SDL
- smbd: /home/martin will be exported to the guest via smb://10.0.2.4/qemu
- ssh: 22223/tcp is connected. Login via 'ssh user@localhost -p 22223'
- PORTS: Port forwards requested:
- 8123 => 8123
- 8888 => 80
```
* Boot from the BaseSystem (use cursor keys if the mouse doesn't work)
* Click **Disk Utility** and **Continue**
* Select `Apple Inc. VirtIO Block Media` that is ~138GB from the list and click **Erase**.
* Enter a `Name:` for the disk and click **Erase**.
* Click **Done**.
* Close Disk Utility
* Click **Reinstall macOS** and **Continue**
* Complete the installation as you normally would.
### All the options
Here are the full usage instructions:
```
Usage
quickemu --vm ubuntu.conf
You can also pass optional parameters
--delete : Delete the disk image.
--shortcut : Create a desktop shortcut
--snapshot apply : Apply/restore a snapshot.
--snapshot create : Create a snapshot.
--snapshot delete : Delete a snapshot.
--snapshot info : Show disk/snapshot info.
--status-quo : Do not commit any changes to disk/snapshot.
--fullscreen : Starts VM in full screen mode (Ctl+Alt+f to exit)"
--screen : Use specified screen to determine the window size.
```
Note about screen and window size
`qemu` will always default to the primary monitor to display the VM's window.
Without the `--screen` option, `quickemu` will look for the size of the smallest monitor, and use a size that fits on said monitor.
The `--screen` option forces `quickemu` to use the size of the given monitor to compute the size of the window. **It wont't use that monitor to display the VM's window if it's not the primary monitor**. This is usefull if the primary monitor if not the smallest one, and if the VM's window doesn't need to be moved around.
The `--screen` option is also usefull with the `--fullscreen` option, again because `qemu` will always use the primary monitor. In order for the fullscreen mode to work properly, the resolution of the VM's window must match the resolution of the screen.
To know which screen to use, type :
```
xrandr --listmonitors | grep -v Monitors
```
The command will output something like this :
```
0: +*HDMI-0 2560/597x1440/336+1920+0 HDMI-0
1: +DVI-D-0 1920/527x1080/296+0+0 DVI-D-0
```
The first number is what needs to be passed to the `--screen` option.
For example :
```
quickemu --vm vm.conf --screen 0
```
will use my big screen to compute the size of the window, and make it 2048x1152. Without the `--screen` option, it would have used the smallest monitor and make the window 1664x936.
## TODO
- [ ] SPICE support
- [ ] Improve disk management
- [ ] [Add Faux OEM](https://code.launchpad.net/~ubuntu-installer/ubiquity/+git/ubiquity/+merge/379899)